Photoshop Tutorial
On our previous blog, we discussed how we can be changed the background color of your canvas.
Now, we will be adding an advanced topic for selecting the image and changing the background.
First, you must select the image that you wanted to have a new background you can choose a photo with an existing background and we are going to change it.
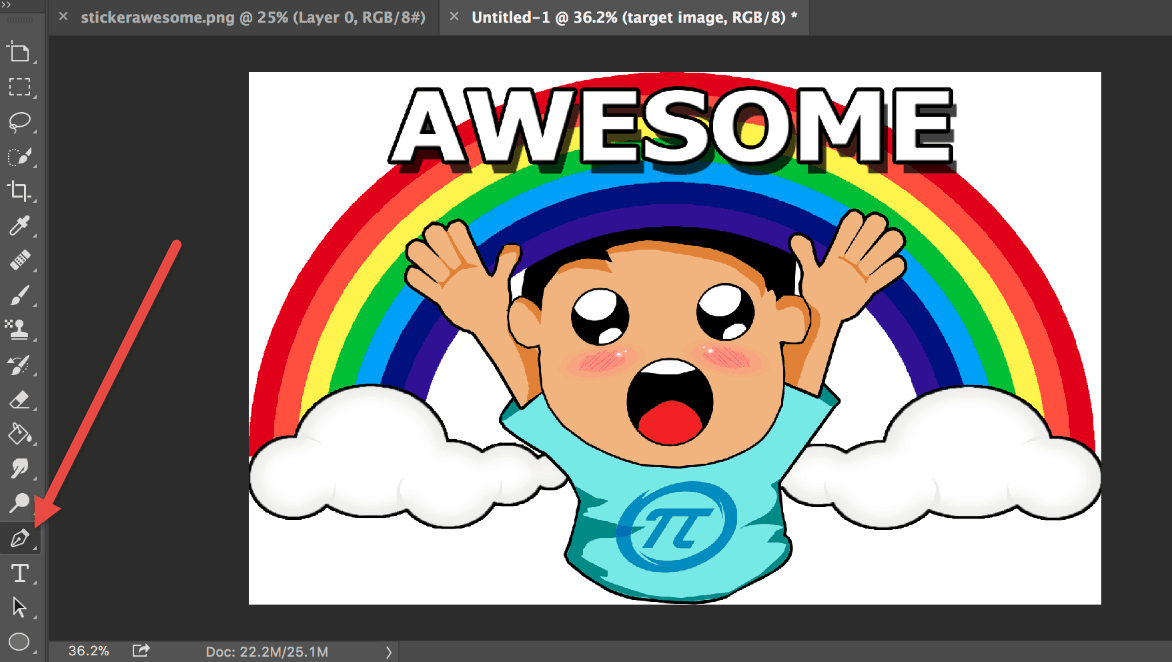
To select the image we commonly use Quick Selection tool and Pen tool
The quick selection tool is used for selecting much faster of your target image. As long as the background color and the target image doesn’t have many colors in common it will not be difficult to select. Mostly other graphic artist uses green screen background upon taking a picture. Because by the use of green background you can easily select your target without difficulties.
Using Selection tools and Pen tool can help your work on manipulating image more quicker.

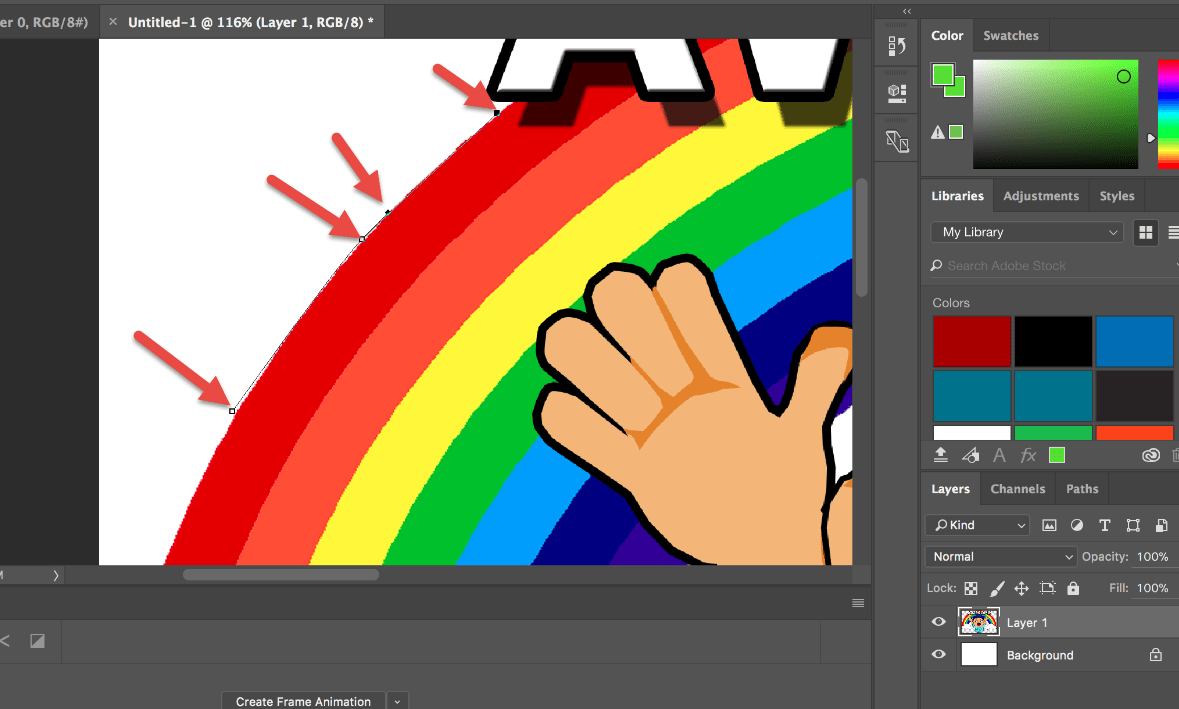
The pen tool is very useful for selecting an image that totally has same colors with the background. Because using this tool, you will go through every point of your target. You must also be careful to select all the important details and proceed to get every point until you collide with the first point where you started.
Then once you get all the points in your target image. Press control + enter and it will be automatically selected. Copy the copy on another project. Press control + C to copy the image, control + N to create a new project and then select the size of your canvas. The canvas size must be bigger than the size of your target image.
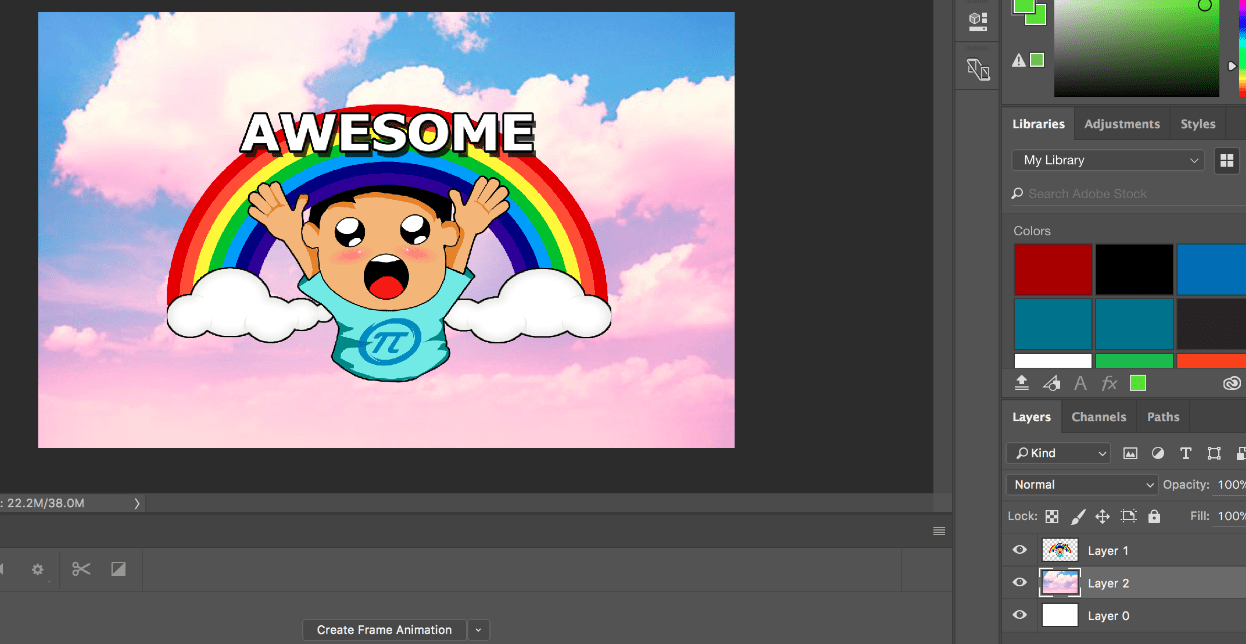
Place the image on your canvas by pasting it (control + V). In this new project you can see that your image has created a new layer that is separated with the background so we can now easily choose whatever background we want. Also make sure that the background will be exact with the theme of your image and prevent using unnecessary background. Your image must blend with your background that make it looks like it is a part of your image.
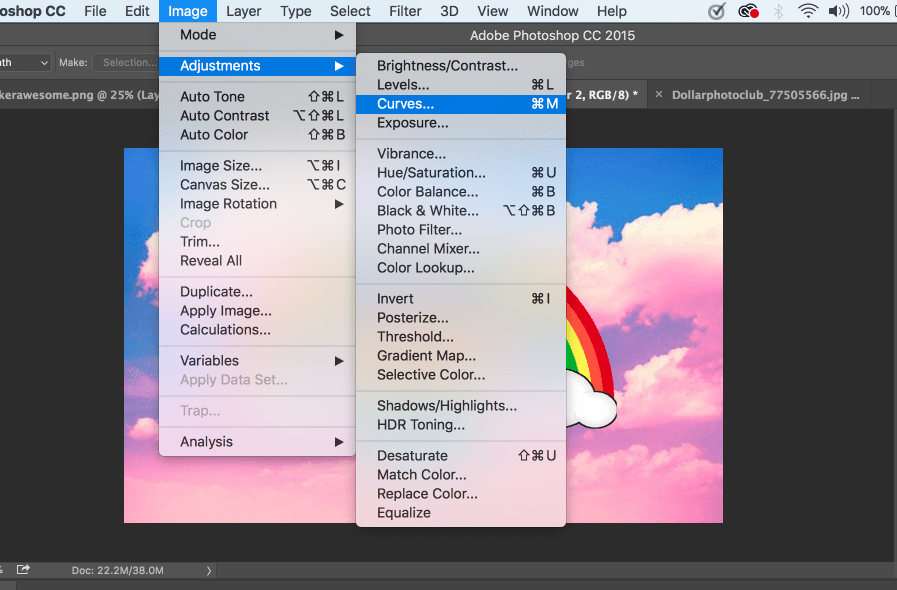
You can also adjust the background to make it blend with your image by adjusting the lightings of your whole image. On our sample, we go through image -> adjustments -> curves which is commonly used for adjusting lights of the image. You can choose to make it lighter or darker and you can instantly see the output to make it easy to use.
Send us your questions on Photoshop
Related Blog Post
What is Ajax?
Ajax and javascript are great for creating dynamic web applications, but before we discuss the AJAX let us first talk about how the browser works. The browser gets information to display a page. How does it work? When a browser request a page from the website the...
Microsoft Azure
Today we are living in the internet era or what commonly known as “Information age.” A lot of technology invented rapidly, like chatbot, web application like Facebook, Twitter, Instagram, and Snapshot, etc., but have you ever think that how did you access these kind...
The Never Endless Bug
Bug? If you are an ordinary person the one inlet in your mind about a bug is like a pesky worm or virus, but no, as a developer in our daily working experience we always encounter different bugs. That was super annoying but we have no choice because debugging is a...


