Creating An Information Management Policy in SharePoint
Information management policies are a set of rules that allows organizations to control content, such as setting retention period or defining actions that can be taken for a specific content. This helps organizations in enforcing regulations within their internal business processes.
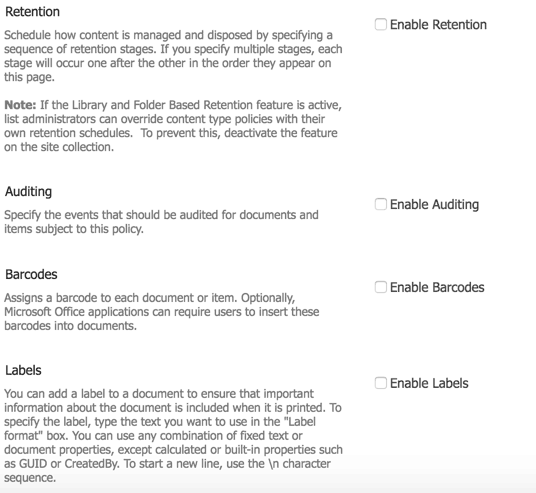
There are 4 categories that are already defined as policy features:
Retention – Provides a way to allow organizations specify an expiration policy by defining an expiration date for specific content after the document has been created or modified
Auditing – Logs events (edit, view, check in, check out, deleted, permission changes) pperformed on documents and items to help organizations analyze their content usage
Barcodes – Allows tracking physical copies by creating unique identifier value and inserting barcode image of that value in the document
Labels – Deprecated and should not be used
Admins can create an information management policy for multiple content types within a site collection, site content type, list, library, or folder, and apply this information management policy to a content type or across site collections. For this blog post, we will be creating a retention policy for a list. We will be moving list items to the site collection recycle bin if the item’s created date is more than 2 years ago.

First, make sure that the Site Policy feature is activated. On Site Settings, look for the Site collection features link under Site Collection Administration group. Activate Site Policy feature if it is not yet activated.
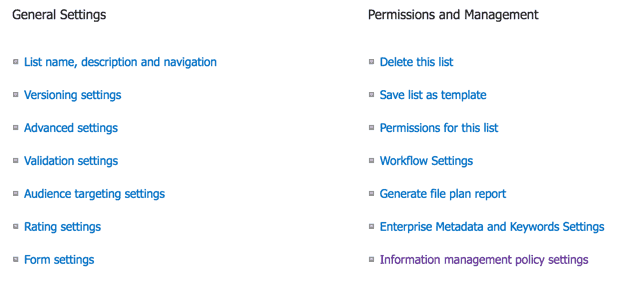
Navigate to the list where you would want to create an information management policy by clicking the List Settings. Under Permissions and Management, click Information Management policy settings.
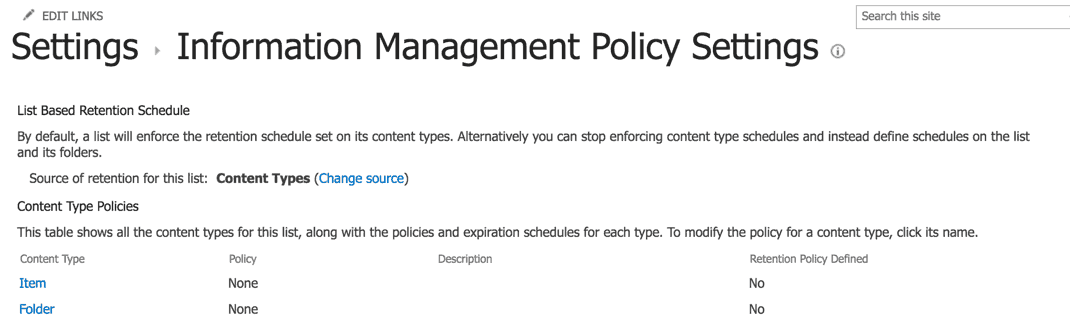
Select Item under the Content Type column.
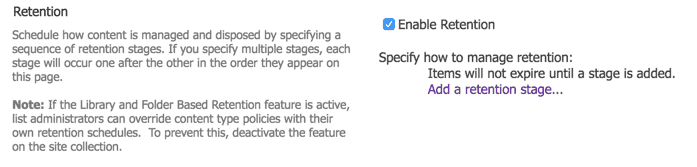
Check Enable Retention and click the Add a retention stage… link.
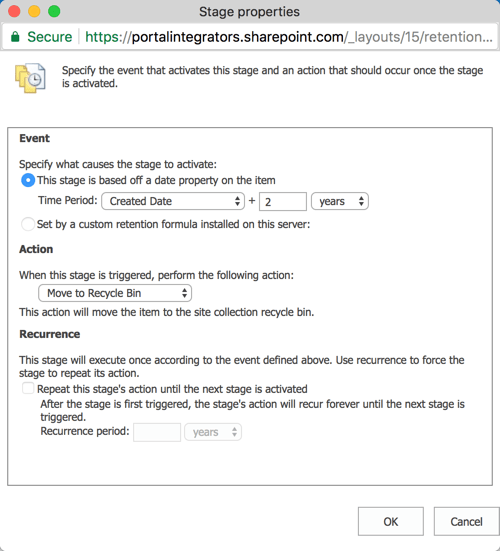
On the Stage properties window, select Created Date on the Time Period. Other columns with Date and Time as data type will be shown on the lookup. Select the column from which you want to base your time period. Enter the number of days, months or years. For our example, we will be entering 2 and we will be selecting years.
For the Action, select Move to Recycle Bin. Click OK to save changes. There are also other actions that we can choose from:
Permanently Delete
Transfer to another location
Start a workflow
Skip to next stage
Declare record
Delete previous drafts
Delete all previous versions
For SharePoint on-premise, you would need to make sure that 2 timer jobs below are executed to ake sure that the retention policy is applied.
Information management policy – Performs background processes for information policies such as calculating expiration dates for items with retention policies
Expiration policy – Processes items that are due for retention action