
SharePoint: Where Did That Document Go?
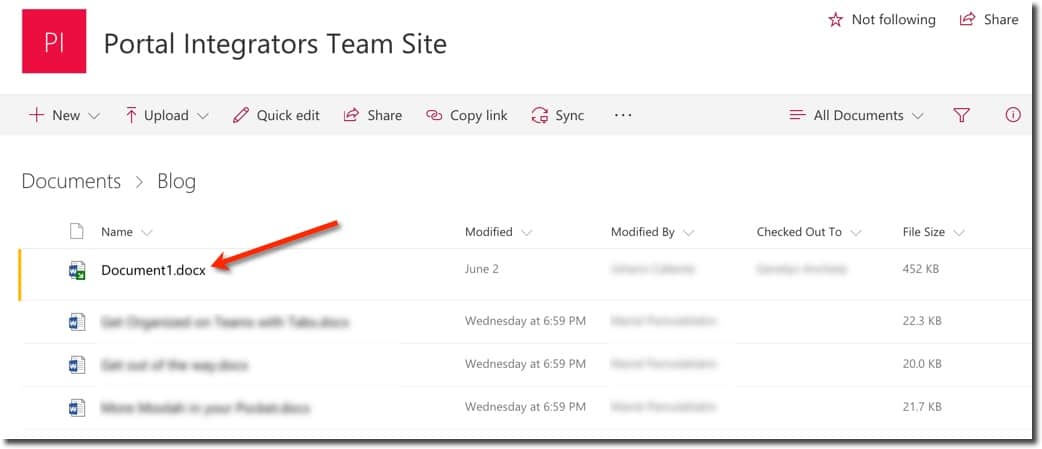
Have you had experiences where you are in the same document library, and you can see a document while the other person does not? You then look into the permissions, and everything seems to check out. It could very well be that the file has not been checked in yet (which we always tend to forget, I know!). SharePoint document libraries with “Required Check Out” setting enabled on the Versioning Settings requires newly uploaded files to be checked in to make them visible to other people.
This might be a good idea, in the sense that others will not see your work until you are confident to check it in, but this can also lead to many issues. What if you urgently need the file and the person to whom the document is checked out, does not have an immediate way to log in and check it in? Or worse, that person is not connected with the organization anymore? What if other people tried to upload a document with the same file name? They will get an error for sure. These can all be frustrating situations that can be resolved by following the steps below:
When someone creates a new file or adds a new file to a library that requires check-out, the file is initially checked out. The person who creates or adds the file must check it in before other people can see it. – https://support.office.com/en-us/article/Require-check-out-for-files-in-a-library-a9046136-eee4-4b84-8a4b-b4b4c199cb09
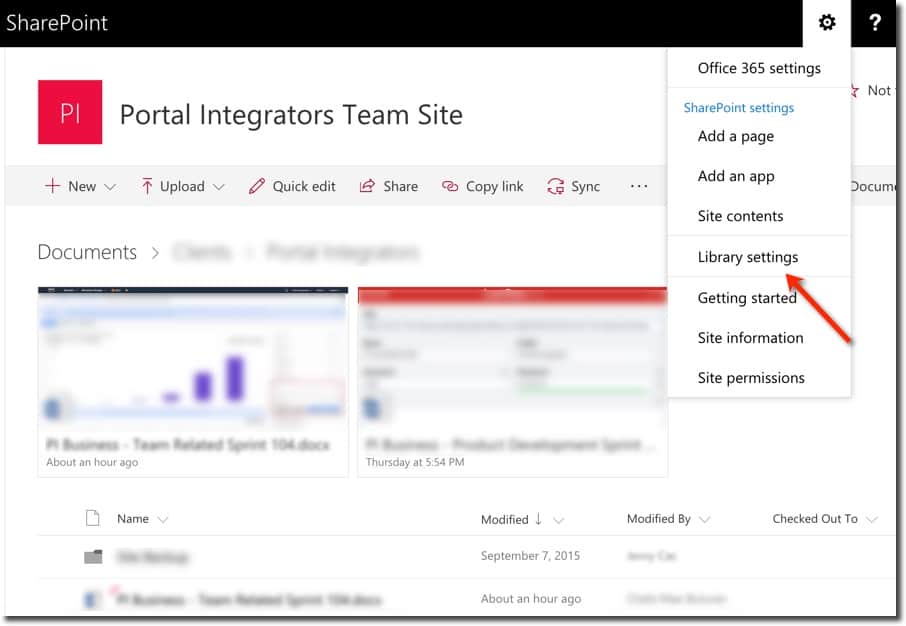
To make the file visible, we will start by going to the Document Library and then clicking the Library Settings. Please note that one needs to have Owner level permissions to follow these steps.
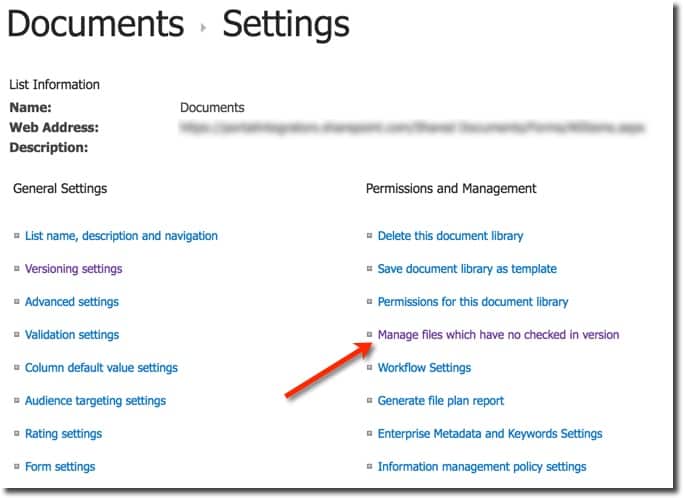
On the Permissions Management section, click Manage files which have no checked in version link.
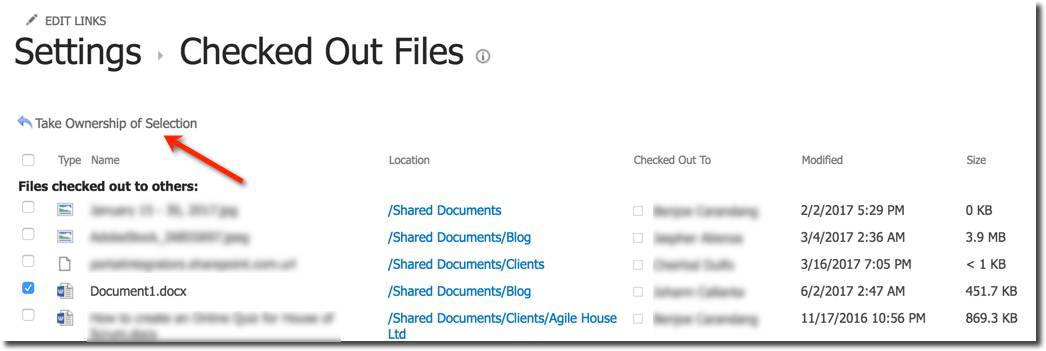
You need to look into the Files checked out to others section. Go through the list and enable the checkbox next to the document or documents you want to take over. Once you determine the files you need, click the Take Ownership of Selection link. This link will automatically be enabled when there is at least one selected file checked out to others.
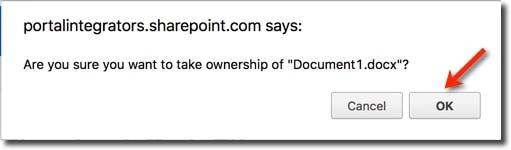
Click OK when prompted with an alert that confirms if you want to take ownership of the selected file or files.
The selected file or files will then be added to the files that are checked out to you. These are more of just information because you will need to go to the library where the file is saved and check it in from there. You can also optionally add comments to check in the file, including the changes. The file will now be visible to other people aside from the author.
Send us your questions on SharePoint
Related Blog Post
The Joy it Gives
This blog has been quiet for over a year. Of course, I have to write my first post after a long time while experiencing flaky internet. Such has been the last few months for us - a lot of changes sometimes wanted and some surprises. Two of our For Dummies books...

SharePoint Cross-Domain Library Part 1: Getting To Know The Library
We have attempted to have an in-depth understanding of how permissions work in SharePoint add-ins in a blog post here and have mentioned a thing or two about the need for the cross-domain library when doing cross-domain calls. When you have for example built an app...

Customizing SharePoint Lists Using Column Formatting
Now available on "modern" SharePoint lists, column formatting is one way of applying custom formats to columns. Pretty much similar with the conditional formatting in Excel, column formatting makes it possible to apply styles to columns like CSS or modify the way data...