Script is disabled Starting with Google Forms - Portal Integrators
Select Page

Starting with Google Forms

by

On last week’s blog, we talked about the “Advanced functions of Google Sheets” and how it is very helpful with our business and data tracking. On today’s blog, we will be giving a tutorial and an overview on how to use “Google Forms” to create a great looking and very useful and efficient forms that you can send out via email, links, etc.
To start with Google forms, you have to visit this link: https://docs.google.com/forms; it will ask you to sign in using your google account if you are not signed in yet. On the page that you will see, it is where you are going to begin the process of creating your forms. Google forms provide you with awesome templates that you would see on the top of the page, and you can click on “Template Gallery” to see a variety of templates you can use. For now, let us start off by using a blank form to understand how to utilize this application for your business or operation.
After clicking on “blank” you then be redirected to the form configuration page, the fields are self-explanatory (i.e., form title, form description, question). Underneath the question, you will see the option 1 which will be the answer to the question; you can add another answer by clicking on “Add Other,” and you can add multiple answers as many as you want and remove them just by clicking on the “X” mark on the right side.

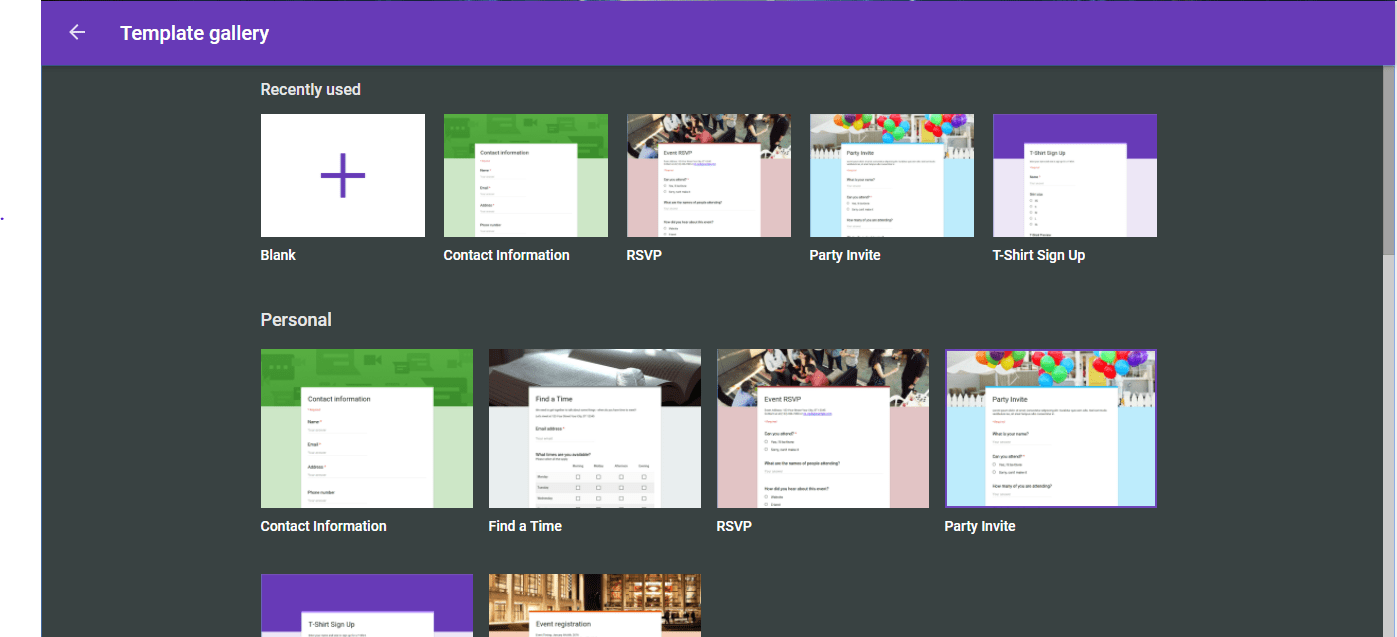
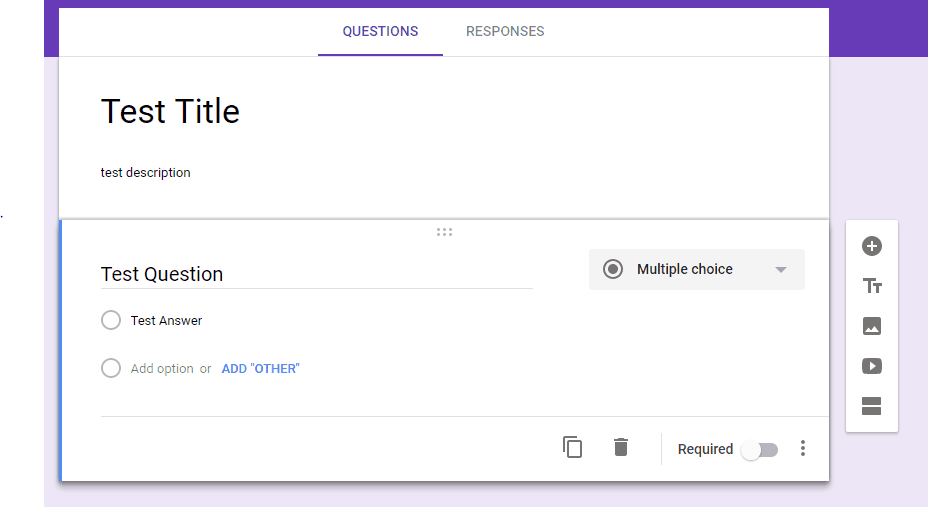
If you are going to create a question but don’t want to have a multiple choice answer, you can click on the drop-down menu that says “Multiple choice,” and you would be given the different type of options. For now, let’s just choose the “Multiple choice” option.

To add another question, just click on the “plus” symbol on the right side of the form and it will add another question. On the same form you can have multiple type of question, for example, the first one is “multiple choice” and the second one can be “short answer.” You can also delete a question by clicking on the “trash” symbol below the question and copy a question by clicking on the duplicate button.
Once you have prepared your title, questions, and answers, they are not set to stone; you can still move them by clicking on top of each title and questions, and on the left side of each answer.
That’s it for this week. We will be continuing with the design tutorial for next week’s blog so stay tuned.
Send us your questions on G Suite

7 + 7 =

Related Blog Post
What is Ajax?

What is Ajax?

Ajax and javascript are great for creating dynamic web applications, but before we discuss the AJAX let us first talk about how the browser works. The browser gets information to display a page. How does it work? When a browser request a page from the website the...
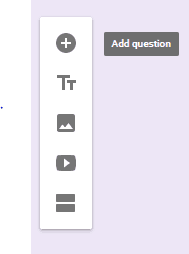
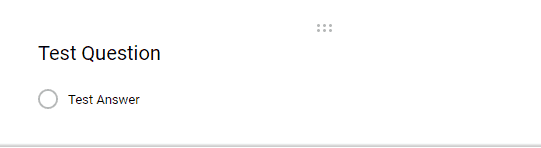
Google Forms Part 2

Google Forms Part 2

On last week’s Gsuite blog, we gave an overview and a tutorial on how to use “Google Forms” to create a great looking and very useful and efficient forms that you can send out via email, links, etc. This week we will continue where we left off. Just a quick recap,...